After the “Ice Saints” in May, the last frost says goodbye to the domestic nature. Garden lovers and hobby gardeners can now enjoy the long-awaited spring and design their garden, change it and bring it into shape. We have summarized for you the most important gardening tasks in May.
Care for bulb flowers
As soon as daffodils and tulips have lost their blaze of color in May, the withered flower stems can be cut off. This care measure does not serve the optics, but saves the plants from putting all their energy into seed formation. Therefore, especially large-flowered varieties will thank you for saving resources.
Important for the care of bulb flowers is that you leave the foliage leaves completely and unharmed until they are dry and yellowed. After all, the leaves contain important nutrients that the bulb absorbs and stores for new shoots next spring.
Remove wild shoots on roses
Wild shoots often form on roses, growing out of the ground near the base. Since wild shoots will develop again from remaining buds, you should remove them directly from the stem of the roses.
To do this, first carefully dig the root neck free and make a horizontal cut with a sharp knife on the bark below the wild shoot. Then you can tear off the unwanted shoot downwards and remove it in this way. The short, horizontal cut thereby prevents large wounds that weaken your rose.
Shape shrubs into shape
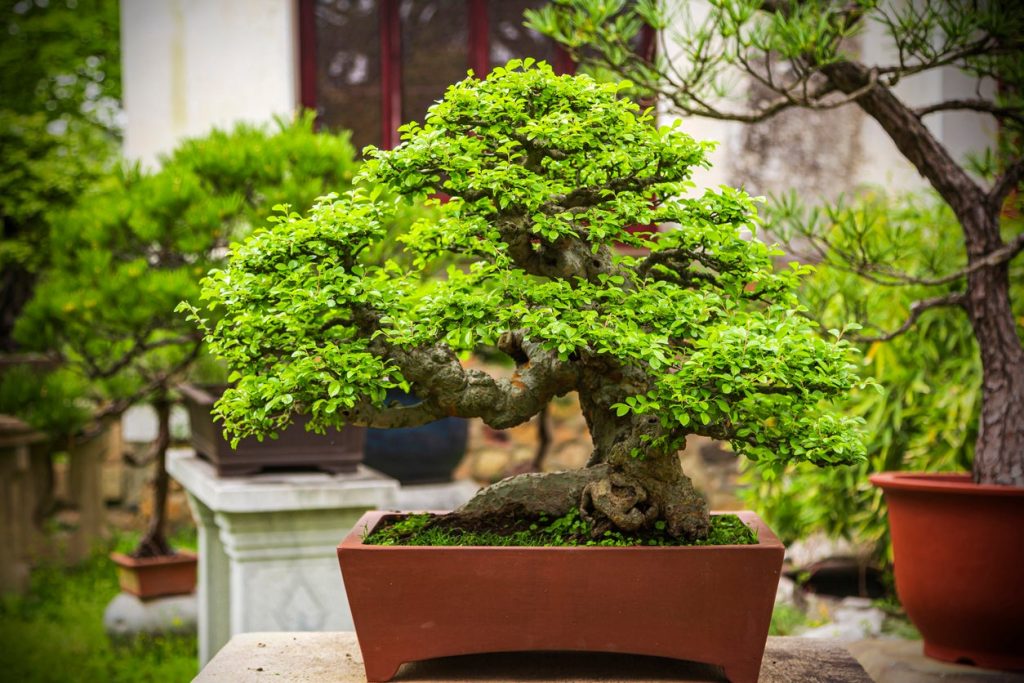
If your garden is adorned with topiaries, May is the ideal time to prune the fresh shoots for the first time. For large shapes, a battery-powered shrub shear is recommended, while you can also do smaller pruning jobs with a pair of hand hedge shears. If you attach importance to particularly detailed contours, these can be worked out with normal garden shears.
If you want to cut topiary in the shape of a ball, trim the young shoots to about a third of their length each year in May. In addition to pruning with pruning shears or hedge clippers, the branches can also be pruned out by hand. Hand pruning requires some effort, but will not leave unsightly brown needles and will maintain a beautiful, compact growth of your garden bonsai for years.
Create a flower meadow
If you want to create a flower meadow, May is the perfect month for this gardening task. Before sowing flower seeds, dig up the area and break up large clods of soil using a cultivator. Then level the area for your future flower meadow with a rake so that you have a fine-crumb seedbed.
You can then sow the flower seeds according to the package instructions. Lightly rake the seeds into the soil and keep the bed evenly moist until germination. Also, use only seeds that are suited to your soil conditions. This will give you a vigorous flower meadow that takes very little effort to maintain.
Fill gaps in the bed with new plants
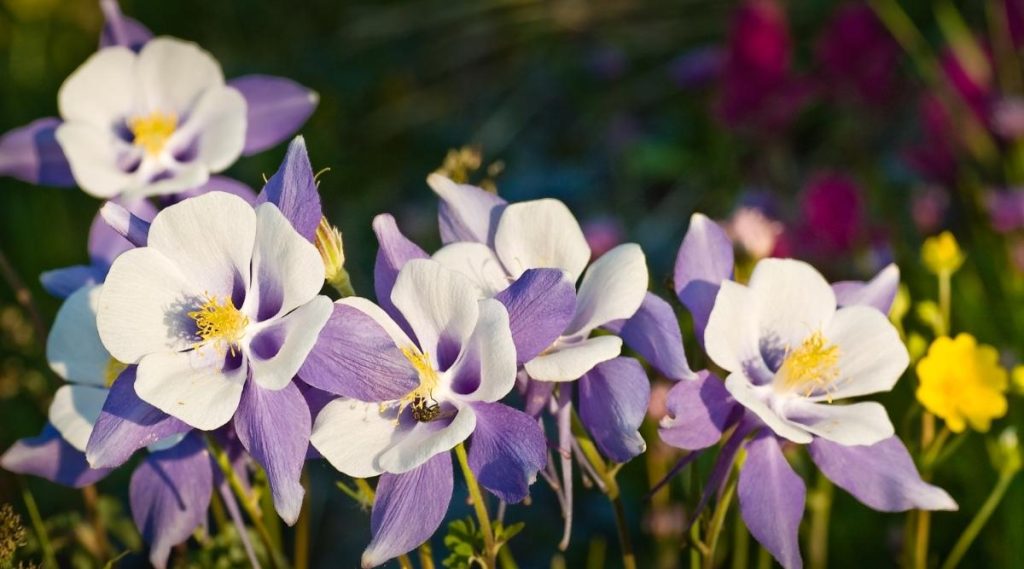
Not every plant survives the cold winter months. By May at the latest, you’ll know which botanical losses you’ll have to cope with. If you want to fill the gap as quickly as possible, annuals or short-lived plants such as columbine (Aquilegia), Patagonian verbena (Verbena bonariensis) or mullein (Verbascum) are a good choice.
At the same time, the loss in the home garden also offers a chance to newcomers for which you previously had no space. Shady corners can be filled with lady’s mantle (Alchemilla), daisy (Astilbe), purple bellflower (Heuchera) or cranesbill (Geranium). In sunny locations, on the other hand, filler perennials such as scented nettle (Agastache), catnip (Nepeta), girl’s eye (Coreopsis), magnificent candle (Oenothera lindheimeri) or pigeon scabiosa (Scabiosa columbaria) are recommended.
Planting ornamental flowers
Fast-growing summer flowers can be sown before the icemen. If these are over in the second half of the month, biennial summer flowers may also move into the open bed. Bearded carnations, lady’s bell flowers, perennial roses and country carnations, for example, not only offer a beautiful appearance, but also score points for ease of handling.
In May, gladioli, dahlias and other flowering bulb flowers are also waiting for their place in the domestic nature. While these varieties feel most comfortable in a sunny location, flower species such as fuchsias and busy lily prefer rather shady places, which they embellish with splendid and cheerful color accents.
Loosen and protect vegetable beds
As soon as the first seedlings are visible in the vegetable bed, you should loosen the soil with a rake at regular intervals. This gardening not only counteracts the excessive development of weeds. At the same time, you destroy the fine capillary vessels that run through the upper layer of soil, thus avoiding rapid soil drying.
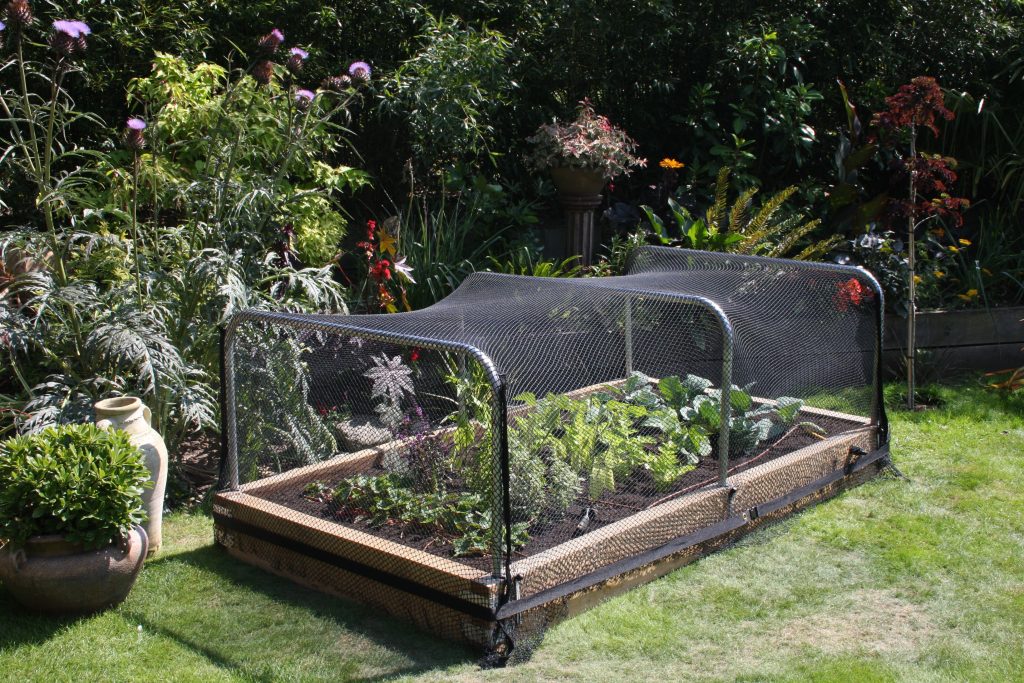
Pests such as bean, carrot and cabbage flies can also do a lot of damage in the vegetable patch. To keep the unwelcome guests away, vegetable nets that you stretch without gaps over your vegetable plants are suitable. They protect vulnerable beds and prevent the egg-laying of moths and flies.
Plant young vegetable plants in the open bed
In addition to vegetable seeds, some of which you can sow outdoors as early as April, young vegetable plants can also be moved to the open bed after the Ice Saints. In the best case, choose a cloudy day to slowly accustom the young plantlets to the sun, and mulch them in their new location.
In addition to the open bed, some vegetable plants can also be cultivated in large containers without any problems. Tomatoes, for example, do not necessarily have to be moved to the open ground, but can also thrive in a sufficiently large flower pot in a sunny and warm location. Among other things, the place on a house wall is suitable here, because the masonry stores the heat during the day and releases it again at night.
Tie down side shoots on fruit trees
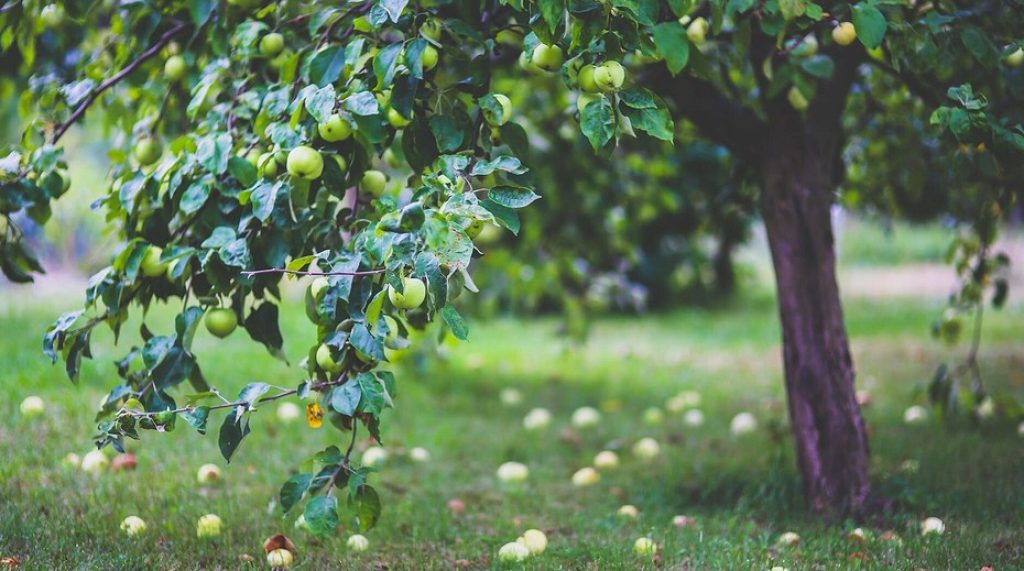
Anyone who has planted new fruit trees should tie down new side shoots that grow steeply upright in good time or weigh them down with a small weight. The aim of the maintenance measure is to bring the shoot into a horizontal position. This, on the one hand, slows down the growth and, on the other hand, promotes the formation of fruiting wood.
If you grow pears or apples as espalier trees, it is recommended to shorten the side shoots on horizontally growing fruit shoots to about four to six leaves. With this measure, you avoid the development of water shoots, which show up as long, vertically ascending shoots, and at the same time promote the formation of fruiting wood.
Spread mulch
A layer of mulch holds many benefits that include vegetable and fruit gardens as well as ornamental gardens. For example, the mulch material provides humus as well as nutrients to the soil underneath and keeps it loose as well as moist.
May is an ideal time to apply mulch, as the soil has warmed up sufficiently after the last frosts of the month. Bark mulch, bark compost or wood chips show to be a proven material.
Since the decomposition processes that take place in the nutrient-poor mulch layer bind large amounts of nitrogen, it is recommended to generously spread horn shavings. Spread these under the mulch layer and in this way prevent a nitrogen deficiency in the soil.
Plant water lilies in the garden pond
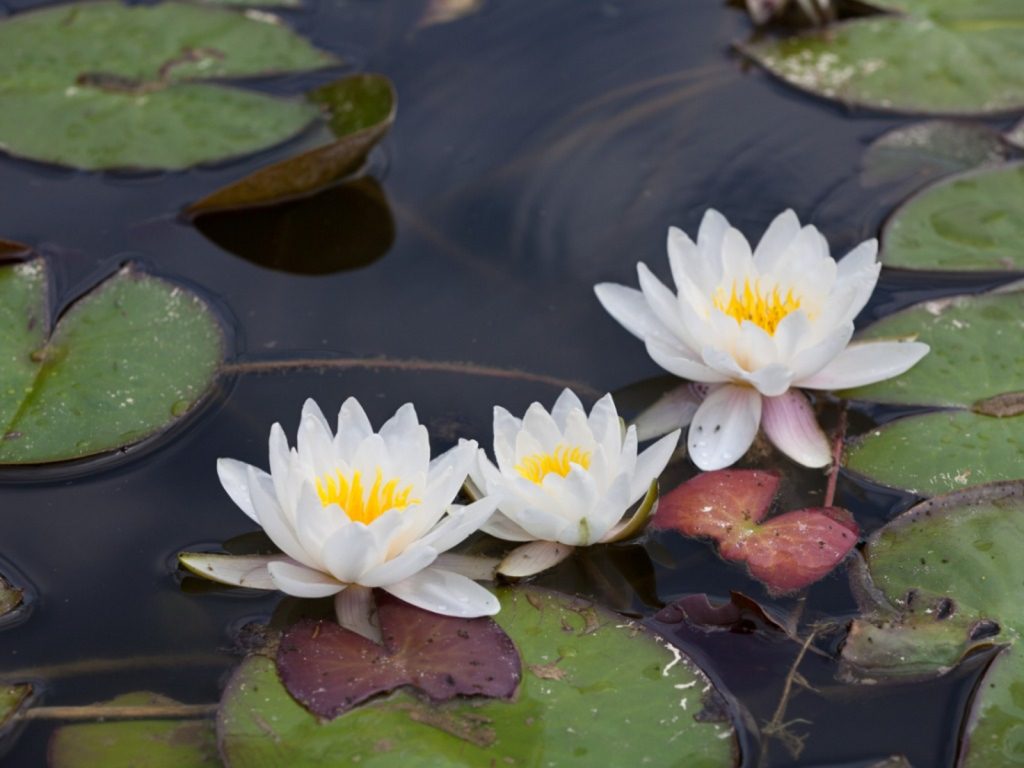
In May, not only the garden soil warms up. The water temperature in the garden pond also begins to rise, so you can now start planting water lilies. It is best to use special planting baskets, which will provide an optimal substrate for your water lilies.
When choosing the water depth, pay attention to the needs of the particular water lily species and remove dead as well as damaged leaves before bringing the planting baskets into your pond.
The surface of the pot can be protected from floating with a layer of gravel. If you are using coarse mesh pots, it is recommended that you line them with burlap or fleece, which will prevent the water lily soil from washing out.
Divide irises at the garden pond
Irises often tend to proliferate at the garden pond. At regular intervals of a few years, the popular perennials can therefore be thinned out or divided. To divide, lift the plants out of the water together with the planting basket after they have flowered.
Using a spade or sharp knife, divide the rhizomes into pieces about the size of a fist, with at least one leaf head. Trim this down to just above the root ball and place the rhizome pieces with fresh soil in new planting baskets, which you can then return to your pond.


